
Step 1 – Verify that the moisture source has been eliminated or repaired.
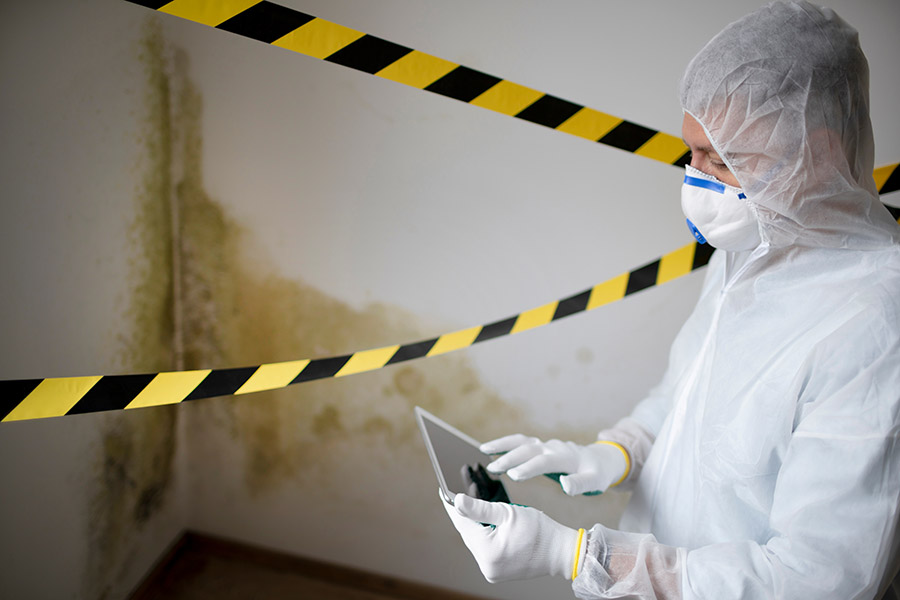
Step 2 – Detailed “Visual”, “Thermographic”, & “Moisture Meter” Inspection
We’re looking for mold you see and the mold and moisture you can’t see with the naked eye.)
- A thorough inspection of the property includes determining the exact cause of the loss and verifies that repairs have been made to eliminate the source of water. (This inspection includes photo documentation AND a Thermographic investigation to find “HIDDEN MOISTURE”sources.)
- If a building smells musty you may have hidden mold.
- Or even if you can’t see it or smell it – Mold may be hidden in places such as the back side of dry wall, wallpaper, or paneling, the top side of ceiling tiles, the underside of carpets and pads, etc.
- After the visual and thermographic inspections we’ll use sophisticated moisture meters to document the moisture content of the structure / area.

In the EXAMPLE above
The visual inspection showed nothing. BUT the thermographic inspection found HIDDEN MOISTURE from an upstairs shower leak. Further investigation found HIDDEN MOLD!
Step 3 – Containment

Our immediate concern is to contain the “mold effected area” to prevent “cross contamination” into other parts of the building. To help improve the containment we create negative pressure using specialized air filtration devices to prevent mold spores from spreading to unaffected areas. Plastic sheeting is used to outline the proposed work-zone and cover windows. These barriers are used to prevent the spread of mold to unaffected areas of the residence during the demolition portion of our work and to prevent infiltration of outside air into our work-zone. The barriers will remain in place until the Industrial Hygienist has determined that the indoor environment has been restored to normal, with respect to mold.
Step 4 – Recommend an indoor environmental professional
to sample & evaluate the mold problem.
Depending on the size and severity of the mold we find during the inspections we may recommend that a “Certified Industrial Hygienist” take a series of “air samples” in order to determine the impact the mold growth has had on the indoor air quality of the residence.
Air samples are also obtained from the outside air in order to serve as a comparison to the indoor samples. The air samples are then sent to a lab for evaluation to determine the quantity and type of mold in the acquired samples.
“Based on the visual inspection and the results of the air sampling, the Certified Industrial Hygienist will prepare an“independent protocol” for the mold remediation. The protocol will specifically identify the location of containment barriers to outline the work-zone, list the structural materials and contents to be disposed of, and describe the extent and type of cleaning needed to properly remove the mold from the residence.”
Step 5-Pack Out
All of the contents within the work zone will need to be cleaned, boxed, and wrapped prior to demolition. This is done to remove settled mold spores from the surface of the contents and allow us to inspect the contents so that all of the affected materials/contents are identified.
Step 6 – Demolition
This part of the process involves the removal of mold and water damaged materials like carpet, drywall, and cabinetry as outlined in the Industrial Hygienist’s protocol. Prior to removal, the visible mold growth is vacuumed in order to remove loose particles to prevent them from becoming airborne during demolition. All of these materials are sealed in plastic bags, double-bagged, and then sealed again before they are removed from the work-zone.
Step 7 – Cleaning
Once the demolition has been completed, the work zone must now be meticulously cleaned to remove any loose particulate like drywall dust, carpet fibers, and mold. This cleaning involves first HEPA vacuumingall of the remaining surfaces within the work-zone, then damp-wiping them to remove any remaining particles and thenHEPA vacuumed again.
Step 8 – Clearance Testing
Once the remediation process has been completed, the Industrial Hygienist will then return to the residence in order to validate our efforts through visual inspection and additional air sampling. The visual inspection is conducted to insure we have complied with their protocol. The additional air sampling will determine if the indoor air quality of the residence has been returned to normal, with respect to mold. When the Industrial Hygienist approves the completion of the project, the homeowner can then proceed with reconstruction.